DIY Kitchen Faucet Repairs

The kitchen faucet is one of the most important appliances in your home. Like most appliances, however, it will eventually wear out and require repairs or replacement.
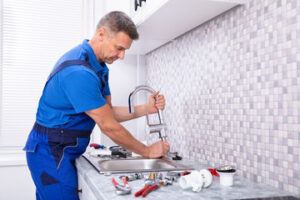
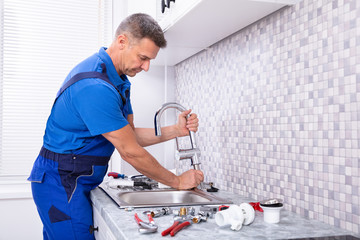
Kitchen Faucet Repairs

Faucet repairs can save you money and time in the long run. If the problem is simple, such as a leak or worn part, it may be worth it to try and fix it yourself before hiring a plumber to do the work for you.

Having a leaky faucet is frustrating, but it’s also an expensive problem that can lead to mold growth and other health problems. If you can’t afford to have a plumber fix your faucet, you can try some DIY kitchen faucet repairs to solve the problem.

First, make sure you’ve turned off the water supply to your home. This will prevent the dripping from ruining your counters, flooring, and furniture while you work on the repair.

Then, remove the decorative caps on each handle. You’ll need to use a flathead screwdriver to gently lift them up and expose the screws underneath. Set the parts aside in order as you take them off, so that they are organized when you reassemble your faucet.

Once you’ve removed the decorative caps, take the handles off of the stem. This can be difficult to do if the screw has become seized, so you may need to use penetrating oil to loosen the threads and break up any rust or sediment.

Next, you’ll need to remove the packing nut on the stream screw, which secures the handle to the faucet stem. This nut can loosen over time and cause your faucet to leak.

After you’ve removed the packing nut, inspect the O-ring that is responsible for keeping water out of your faucet handle. If it’s worn, replace the O-ring with a new one before you reassemble the handles.

The seat washer that sits atop the O-ring is another component that can wear out over time. This is typically a rubber part that keeps the O-ring from moving around when you’re using your faucet, so if it starts to show signs of wear, it’s a good idea to replace it before your faucet starts leaking.

Finally, once you’ve replaced the O-ring and seat washer, check to see if there are any signs of corrosion on your faucet handles. Mineral buildup is a common problem with older faucets and can cause them to leak.

If you notice any signs of corrosion on your faucet handles, or if they’re dripping, it’s a good idea to bring in a professional to replace them for you. You can get a free, no-commitment estimate from a licensed plumber near you to help you determine whether you’re dealing with a problem or just a simple repair job.

Leaky faucets are annoying and can lead to mold, water damage, and health problems. They also cost homeowners a lot of money on their water bills and may interfere with daily activities.

If you notice a leak, it’s important to call for help immediately. Dripping faucets can waste over 100 gallons of water per month, leading to high utility bills and potentially serious plumbing repairs.

Faucet parts wear out over time, so it’s important to replace them periodically. Some worn parts can be repaired easily, but others need to be replaced altogether.

Inspect all faucet parts for signs of wear, damage, or corrosion. If the parts have been damaged by rust, you might need to clean and refinish them. You can also sanitize them by soaking them in vinegar to loosen mineral deposits.

Take out the valve cartridge or stem, then inspect it for corroded or defective parts. Some cartridges are easy to remove and slide out of the handle, while others require you to loosen a nut with a pipe wrench.

Check the rubber O-rings for wear and tear, as well as the seat washer (the thicker rubber band at the bottom of the stem). If they’re both deteriorating, you’ll need to replace them, or else your faucet will keep leaking.
How to Fix Common Deck Repair Problems

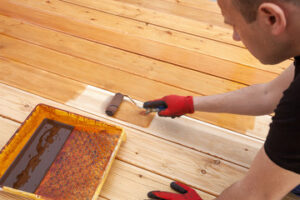
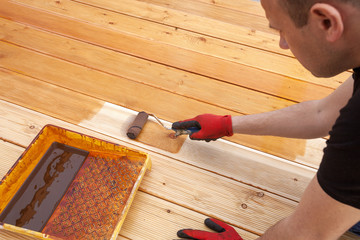
One of the best ways to keep your deck in good condition is to clean it periodically. This can reveal any problems that may be lurking beneath the surface. Identifying and fixing these issues will prevent future problems. When you find a problem on your deck, gather the tools and materials necessary to fix it yourself. However, if you suspect that the problem is structural, you might want to call a professional like Deck Builders Charleston SC

Deck Repair

Rotten deck posts may not look like much, but if they aren’t treated, they will slowly begin to rot. This is because they are buried in soil or concrete, and the water that accumulates causes the wood to rot. As the wood breaks down, it forms hollow spaces. As water collects in these spaces, it becomes more difficult to support the weight of the deck.

The cost of replacing a rotten deck post can range from $200 to $400 per post. The amount will depend on the material, installation method, and the number of posts. A simple pressure-treated wooden post won’t cost as much as an expensive cedar one. The cost will also include disposal, which can be an additional cost. Deck posts can be damaged by weathering, rot, and general wear and tear.

Professional repair services may cost between $300 and $5,000. This price range varies, but minor rot damages can be fixed for under $300, while major rot damage could require more extensive repairs. Regardless of the extent of the rot, it’s important to get it treated quickly, as it can endanger the health and safety of the deck. If the rot spreads to more areas of the deck, it may be best to replace the whole structure, which will cost hundreds or even thousands of dollars.

The cost of replacing a rotten deck post or beam will vary, but in most cases, it will be less expensive to repair than to replace it. If you find a rotten deck post or beam, you can also call a pest control service to check it for termites or insects. They will charge between $65 and $100 for an inspection. The cost of replacing a rotten deck post or beam will depend on the size of the damaged board and the type of material used. For example, more expensive wood may cost more.

If you’re thinking about replacing a rotten deck post yourself, make sure to know the cost before hiring someone to do the work for you. Prices for deck repairs vary widely by region and zip code. A professional will be able to determine what materials you’ll need and negotiate bulk discounts.

If your deck has rotten joists, it may be time to replace them. First, cut them into manageable pieces. Then use a chisel or pry bar to remove the rotted wood. Next, screw or nail the new joist to the old one using hot-dip galvanized bolts. After that, you’re ready to install the new decking boards.

A rotten deck joist may not necessarily be rotted out completely but may need to be replaced due to cracks, splinters, or other weaknesses. In some cases, removing the deck boards may be necessary in order to reach the joist. This may require using a claw hammer or pry bar.

The cost to repair or replace a rotten deck joist varies widely depending on the size of the damaged area and the amount of material to be replaced. The cost can be higher if you have stairs or railings or if you’re replacing an entire deck. Permits also increase the cost of your deck repairs, so it’s important to compare estimates before committing to hiring a contractor.

Replacing a single rotten deck joist can cost between $150 and $350 per joist. The cost depends on the wood and local labor rates. Depending on the type of wood and the labor rate, the process may take longer than expected, so be sure to factor this into your budget.

You can save money by repairing the rotted parts yourself. However, larger issues will require repairs to the foundation and joists. If the damage is too extensive, you might want to have it fixed by a professional. Thankfully, there are contractors that offer free estimates.

Tips For Choosing Carpet Underlay

Whether you are considering adding Carpet Underlay to your home or are considering replacing your existing flooring, there are a few factors to consider before making the final decision. This article will provide you with useful information that will help you decide which type of Underlay is right for your needs. Read on for some tips that will make the process easier and help avoid common mistakes. And remember: underlay is a great option for both indoor and outdoor flooring.

carpet underlay

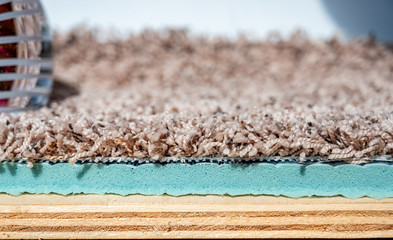
The thickness of the Underlay is important to consider. You can get Carpet to underlay in eight, ten, or twelve mm thicknesses. Generally speaking, an 8mm underlay will do the trick if you’re looking for a budget underlay. A 10mm Underlay is better for stairways, while a 12mm Underlay is perfect for most types of carpets. Choosing a carpet underlay based on your requirements will help ensure that your Carpet is comfortable and will last longer.

Underlay is just as important as the Carpet itself. If you don’t clean your old Underlay properly, you may encourage moisture damage. To prevent moisture damage, put plywood sheets over the Underlay to protect your flooring. If you have a new carpet, you should buy a new carpet underlay and not reuse your old one. Reusing the old Underlay may create the same wear patterns that appeared on your previous Carpet, and those wear patterns will be replicated on the new Carpet.

The thickness of your Underlay will also determine how much noise your home will absorb. If it is too thin, sounds from upstairs will reflect through the ceiling, creating an echo in the room. A thicker underlay pad will block the sounds and provide more comfort. You’ll also want to consider the softness of your Carpet when choosing your Underlay. The thicker it is, the less noise it will make, and the longer your Carpet will last.

The main benefit of a good quality underlay is that it acts as thermal insulation, absorbs shock, and makes your new flooring softer. It also prevents the flooring from premature wear. In some cases, it is possible to reuse the Underlay that has been down for a few weeks. However, if you are unsure of the quality, consider buying a new one. You’ll be able to reuse the old one if it’s thin enough, but it’s not recommended. This can cause ridges and uneven wear on the Carpet.

Carpet underlay is an important part of any carpet installation. It’s not necessary to buy a new carpet every time. But if you have an existing carpet, you may want to add a layer of Underlay to help it last longer. Carpet underlay is an essential part of your flooring installation process, and you should take this step to ensure your investment is in the best condition possible. If you’re worried about the quality of your Carpet, don’t be afraid to ask your salesperson about the Underlay. Most of these professionals can help you with this process.

For a more environmentally friendly option, opt for a crumb rubber underlay. These materials are made from recycled materials and are durable enough for a home environment. PU foam has replaced rubber underlay, but it’s still popular for carpeted stairs. It’s great for insulating and increasing the life expectancy of your Carpet. There are many different types of Underlay available. You’re sure to find one that suits your needs.

Underlay comes in different types and prices. The most common ones are rebonded foam, SBR latex, rubber, and felt. The best Underlay is the one that’s made of quality materials. PU foam is lightweight and soft and is also a great option for reducing noise. Both are easy to install and affordable. And PU foam is ideal for insulating and sound insulation. If you’re worried about the price, try recycled foam underlay.

The benefits of carpet underlay are many. It helps the Carpet last longer as it protects it from damage caused by moisture and general wear. It also acts as a shock absorber, reducing the sound of footsteps and voices. And since carpets are expensive, it makes sense to maximize their life. Carpets that have Underlay installed can last for decades. You’ll find that it’s worth the investment in a good underlay.

Underfloor heating is a great option for your home, and underfloor heating works best when Underlay is made of a special type of rubber. If you have an underfloor heating system, crumb rubber underlay is an excellent choice. Crumb rubber contains the same amount of rubber as one car tire. It’s a dense and sturdy underlay and the best choice if you want to maintain the original look of your Carpet. Felt and crumb rubber is a good combination of both.

Types of Roofing

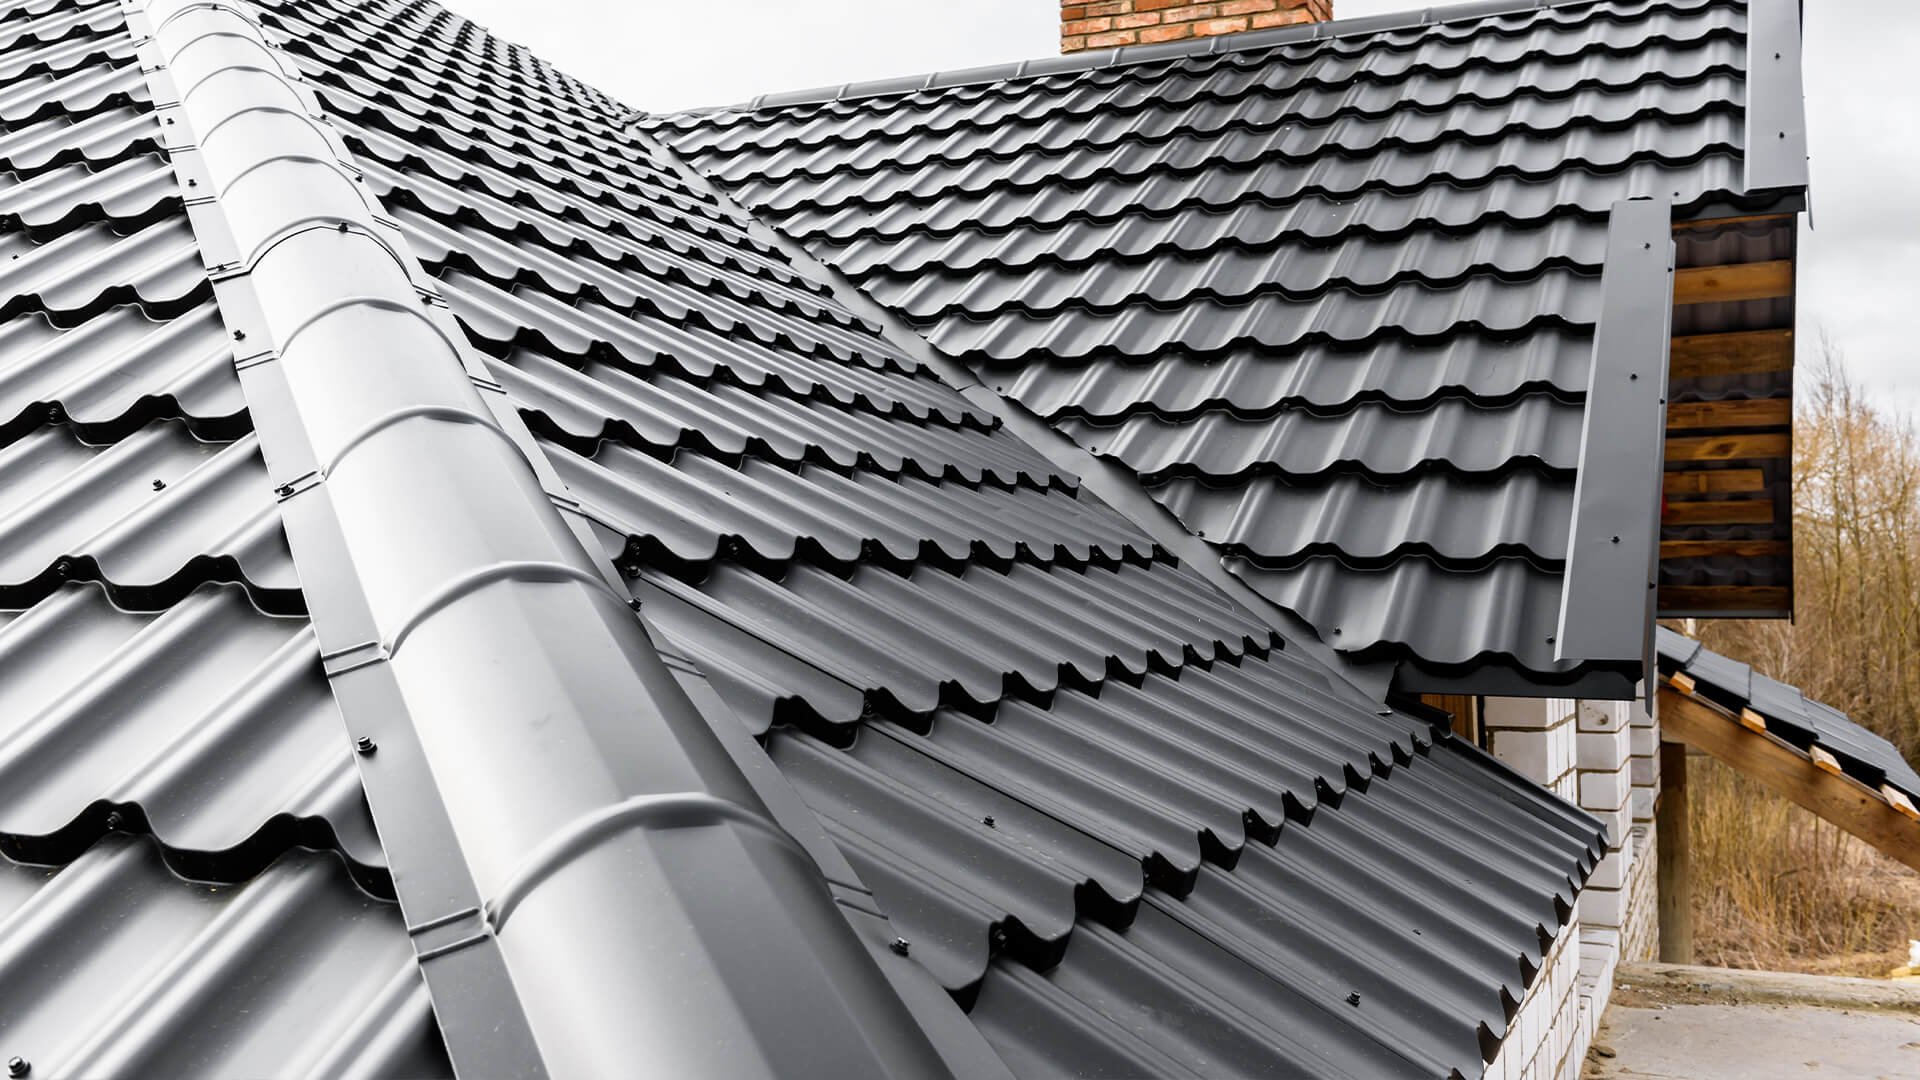
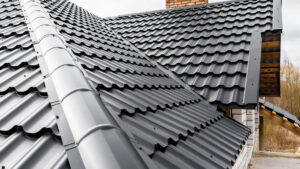
Roofing is the process of covering the exterior of a building with a protective layer of material such as metal, wood, or clay. It protects the interior of a home from rainwater and is essential for preventing mold and mildew. In a typical roofing project, the roof covering will last between 50 and 100 years. The type of material used depends on where it will be installed. Typically, a slanting roof will have a slanting edge.

roofing

Gable walls are triangular portions of a home that extend from the eaves to the apex of the roof. The gable walls have a centerline called the ridge, or verge. Several sections of a roof will meet at a hip and valley, and each of these sections will have a unique structure. Roofing systems are also arranged to prevent water from pooling in the eaves or causing damage to the interior.

Asphalt shingles are the most common roofing materials and cost between $1.50 and $2.50 per square foot. These roofs typically last about ten years. Built-up roofing is one of the oldest types of flat roofs and is composed of several layers of roofing felt, impregnated with asphalt. The layers overlap and are sealed with hot tar. Finely crushed stone is embedded in the asphalt, creating a durable roof. A high-quality roof will withstand wind and rain.

Roofing nails are used to secure shingles to the roof. Roofing nails are generally made of aluminum, stainless steel, or copper. The length of the shank depends on the type of roofing material. Asphalt and fiberglass shingles, for example, require 1-inch nails. Wood shingles, on the other hand, need longer nails. However, if you do decide to use longer nails, it is advisable to buy nails in lengths of one inch.

Another common type of roof is thatch, which is made of plant stalks and laid in layers. This type of roofing is durable and will not deteriorate as quickly as shingles. If you want to get a unique, natural-looking roof, try using this type of material. While this may not be the most durable type, it is a natural and environmentally-friendly alternative to asphalt shingles. The only disadvantage to this type of roofing is that it is very heavy and will need a sturdy structure to keep it in place.

Different types of roofs have different purposes. One purpose is to protect against rain, but other purposes may require a roof that admits sunlight and other elements. Roofing can provide additional living space, too. If you’re looking for a roof that protects you from extreme temperatures, this type of roof may be right for your house. You might also want to consider the shape of your roof. This can help you choose the right material. A roof can be shaped like a triangle, so choosing the right material for your home is important.

In addition to preventing ice dams and damaging your roof, you can avoid major problems with your roof by identifying the causes of them. Rain can cause a variety of issues in your home, including rot in the roof, mold and mildew growth, and even the structure of a building. In addition, extra moisture can also cause a variety of problems in your interior, including electrical systems. Also, high wind damage can damage a roof, so it is important to keep your gutters clean.

Slate roofs are highly durable and resistant to extreme temperatures and small branches. Slate is also a fire-resistant roofing material. It’s also quite affordable, costing between $9 and $20 per square foot, and can last anywhere from fifty to 200 years. Slate roofing is typically made of natural quarried slate, while synthetic slate is less expensive. However, it’s important to note that natural slate is not as long-lasting as synthetic slate, so you’ll have to make sure you hire a reputable roofer to complete the job.

Another important consideration is drainage. A roof’s drainage will affect its ability to shed water, so you should carefully consider drainage when designing your new roof. The slope is a common way to measure slope, and it’s measured in inches for every foot of horizontal distance. A five-in-12 slope will rise five inches for every foot. The slope is important because water will seep into the structure, which can cause the entire structure to collapse. It’s also important to ensure that the structure underneath the roof is strong enough to support the weight.

Wood roofs are an attractive option but are relatively expensive. Wood roofs are not very long-lasting and are not recommended for homes in areas with extreme moisture or wildfire risk. Despite its drawbacks, wood roofs are still a popular choice for luxury homes. Cedar and redwood are commonly used to build wood roofs. Wood shingles and shakes are thick wedges of wood with a rough texture. If you have a large roof area, you’ll want to check out the shingles and wood shakes.

Water Damage Repair – How to Do It Yourself

In the event that you’re faced with a water damage emergency, you’ll have to decide how to proceed. If you’re unable to handle the repairs yourself, you should contact Water Damage Repair for assistance. A water damage restoration company will deal directly with the insurance company so that you don’t have to worry about completing all of the paperwork yourself. Moreover, these companies will handle the insurance paperwork for you, so you can avoid any out-of-pocket costs.

In addition to removing damaged materials, you must replace those items that are made of porous materials. While replacing porous materials may be an expensive proposition, you can make it last longer by cleaning the affected areas. You can disinfect water-damaged areas with a bleach solution to kill any traces of bacteria and mold. After removing the water, you can start drying out the water-damaged materials. You can also disinfect items with disinfectant solutions, such as chlorine bleach.

During a leak, greywater or wastewater may seep into the property. These contaminated waters may contain chemicals, sewage, and soap scum. Some of these substances may be harmful to human health. These are considered category 2 water damage. Fortunately, most people are capable of cleaning up the water damage on their own. However, if the damage involves Blackwater, you’ll need to contact a water damage restoration company immediately.

Once the water has stopped, the next step in DIY water damage repair is to remove damaged items. This may require professional assistance as certain materials are hazardous. Drywall and insulation may pose a health risk, and waterlogged drywall can be hazardous. You can hire a company that handles these tasks for you. Alternatively, you can call a water damage restoration company to complete the cleanup process for you. So, whether you’re unable to remove the damaged items yourself or not, water damage restoration is essential for preventing the damage from spreading.

Untreated water damage can lead to a variety of health hazards, including mold and bacteria. Additionally, the water can lead to appliance malfunctions and structural damage. There are two main phases of water damage restoration: water extraction and cleanup, and structural repairs. Once water damage restoration is completed, your home will be in much better shape than before. In the meantime, contact your insurance company for assistance. They will send an estimater to assess the damages.

Water damage remediation is the process of cleaning up and sanitizing damaged areas. The work involves removing water from a property, drying, dehumidifying, and restoring materials and surfaces. Although it is not flood clean-up, water damage remediation is often considered the same thing. Water damage remediation also includes leaks and other types of water-related problems. This type of damage can lead to mold, bacteria, and wood rot.

The process of water damage repair can take a while. In some cases, walls, flooring, and possessions can be damaged beyond repair. If you have taken steps to protect your home from further flood damage, your insurance company may reduce the costs associated with rebuilding. When you start rebuilding your home, you should work closely with a builder or contractor. They can keep the construction on schedule and ensure the materials used are quality ones. But, if you have no idea how to handle such a project, it can be daunting.

The process of water damage cleanup begins with the assessment of the damaged area. This assessment is necessary in order to determine the appropriate cleanup procedure and cost. The cost of water damage cleanup will depend on the source and severity of the damage. If you don’t have the skills or experience to handle the task, contacting a professional water damage cleanup company is the best choice. If you’re unsure of your own abilities, a professional can assess your home and determine whether it’s safe to try to clean it yourself. The cost of water damage cleanup may also depend on whether or not the insurance company requires a professional assessment.

Mold remediation is another process that’s necessary after a water damage. It can grow in the damaged area and cause a large amount of damage. It may also require removal of all surfaces. While you can attempt to eliminate mold by drying out the area, you should still get a mold inspection before you do anything. The best way to make sure there’s no overlooked mold is to hire a water damage restoration company. It’s important to keep in mind that mold remediation is a time-consuming process.